
Christopher Bevans
Hi, I'm Christopher Bevans, the creator of SocksWiki.com. With a background in fashion design and a passion for innovation, I’m here to share my knowledge on socks from troubleshooting tips to detailed buying guides. I believe the right pair of socks can make all the difference, and through this site, I aim to help you find the perfect fit for every occasion.
Pattern Description:
This beginner-friendly crochet slipper is made from a single rectangular piece, then sewn to form the final slipper.
The pattern is designed for US women’s sizes 6-11 (small, medium, large), with tips provided for adjusting to smaller or larger feet.
The tutorial primarily uses single crochets, often working into back loops or bumps for a uniform finish, and involves cinching and whip stitching to complete the slipper.
Materials Needed & Measurements:
- Yarn: Red Heart Super Saver yarn
- Yarn Weight: Number four medium weight yarn
- Hook: 5 mm crochet hook
- Notions: Needle (for sewing)
- Measurements:
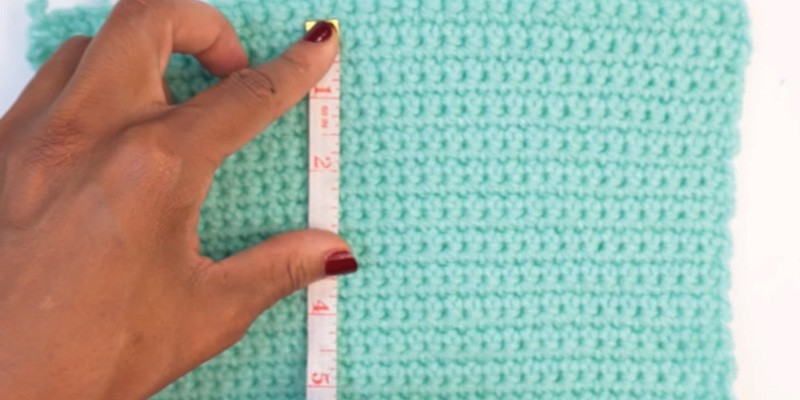
- Gauge: 8 rows equals 2 inches and 8 stitches equals 2 inches.
- Initial Chain:
- Size Small (6-7): Chain 34
- Size Medium (8-9): Chain 36
- Size Large (10-11): Chain 38
- General Tip: Chain at least a half inch longer than your foot.
- Total Rows:
- Size Small: End on row 26
- Size Medium: End on row 27
- Size Large: End on row 28
- Stitches to Sew Together (Toe Section):
- Size Small: Sew the next 7 stitches together
- Size Medium: Sew the next 8 stitches together
- Size Large: Sew the next 9 stitches together
Stitches & Abbreviations Used:
- ch: Chain
- sc: Single Crochet
- st: Stitch
- Whip Stitch: A sewing technique
Step-by-Step Instructions for Making the Free Crochet Slipper Socks Pattern for Beginners:
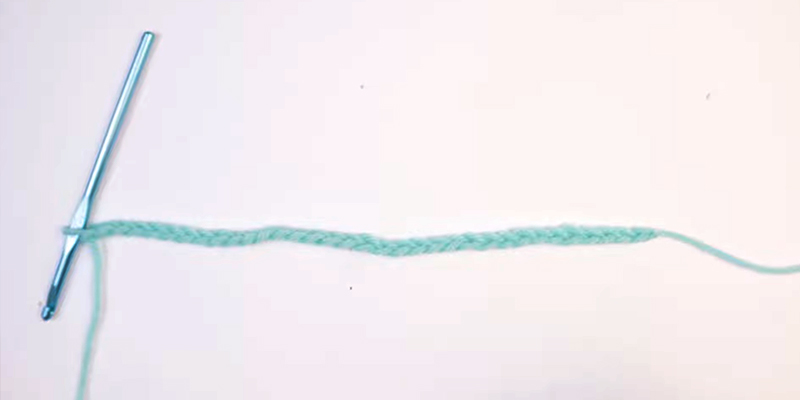
Initial Chain (Ch)
- Begin by leaving a long tail of about 12 inches, which will be used for sewing later.
- Create your initial chain based on the desired size:
- Size Small (6-7): Ch 34
- Size Medium (8-9): Ch 36
- Size Large (10-11): Ch 38
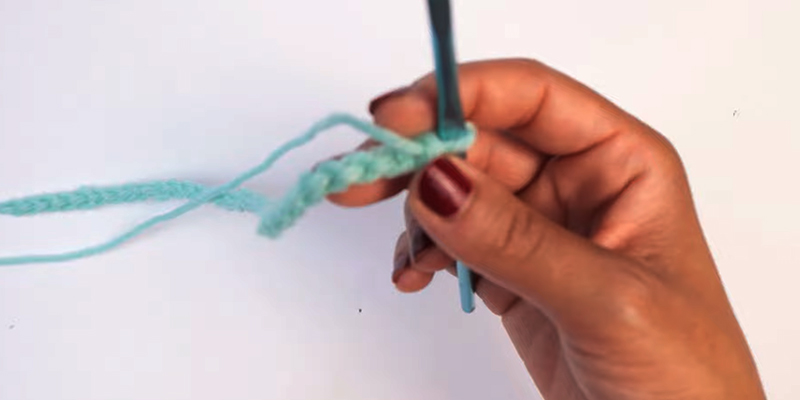
Row 1 (R1)
- Turn your chain over and work into the back bumps.
- Sc into the second bump from the hook.
- Continue to sc into each back bump all the way across the chain. Working into the back bumps helps make the finished work more uniform for later sewing.
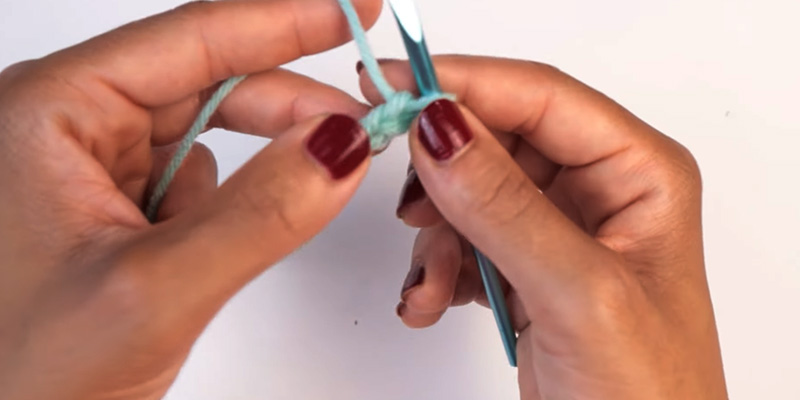
Subsequent Rows (R2 – Final Length)
- At the end of each row, ch 1 and turn your work.
- Sc in every stitch (st) all the way across.
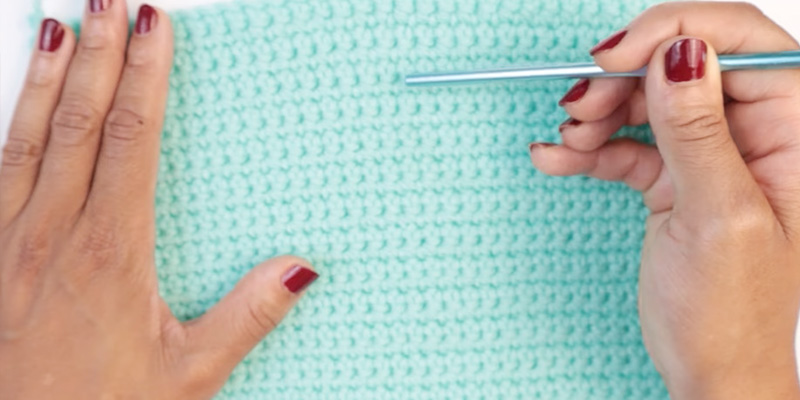
- Repeat this process until you reach the designated number of rows for your size:
- Size Small: End on R26
- Size Medium: End on R27
- Size Large: End on R28
- Tip for Counting Rows: Look for small blocks in your work; each block represents two rows of single crochet.
- Once you complete the final row for your size, remove your hook but do not fasten off your work; leave the working yarn attached.

Cinching the Toe
- Take the long tail you left at the beginning and attach your needle to it.
- Weave the needle in and out, back and forth, along the entire edge of your initial chain (the starting edge of your rectangle).
- Pull the yarn to cinch this edge closed.
- Go to the opposite end of the cinched section, insert your needle again, pull, and cinch it all the way closed.
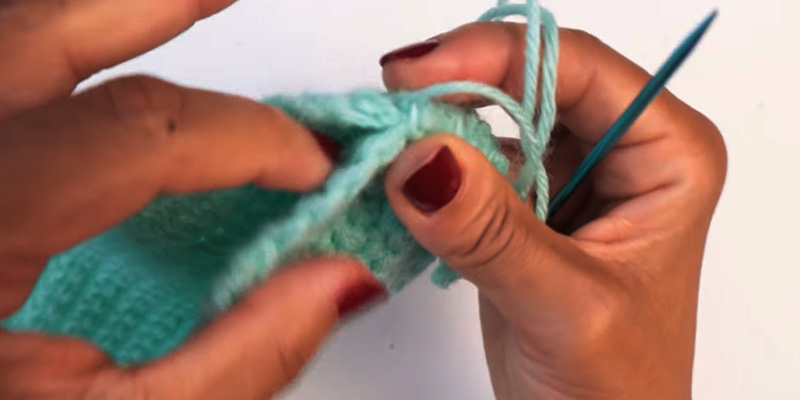
Sewing the Toe Section
- With the same needle and yarn, whip stitch across the cinched toe. This will be the inside of your slipper, so the appearance of the stitching won’t be visible from the outside.
- After whip stitching, at the last stitch close to the toe, go through that loop one or two more times and pull your work to secure it.
- Next, you will sew a specific number of stitches together to shape the toe. With your needle, go into the first stitch on one side and across to the other side to sew:
- Size Small: Sew the next 7 st together
- Size Medium: Sew the next 8 st together
- Size Large: Sew the next 9 st together
- To secure this section, wrap the yarn a couple of times through the loop.
- Fasten off your work.
Crocheting the Opening (Last Row)
- Return to the working yarn that you left attached after completing your final main row.
- Ch 1 and turn your work.
- Sc all the way across the open edge of your work to the other side.
- Then, jump over and sc all the way around the entire opening of the slipper.
- Once you have crocheted all the way around, cut your yarn and fasten off your work.
Finishing the Slipper
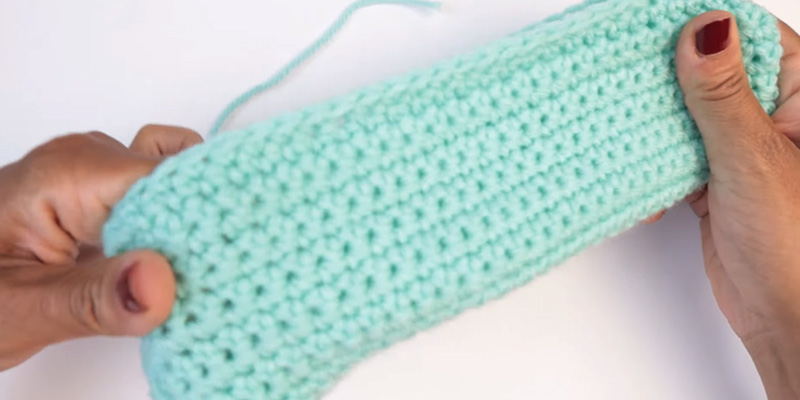
- Take your needle again and sew down the remaining edges of the rectangular piece to form the back seam of the slipper.
- Place the two edges together and whip stitch (or use any preferred sewing method) all the way down.
- Once you reach the bottom, fasten off securely.
- Finally, turn your slipper the right side out.
Download PDF of this Free Crochet Slipper Socks Pattern for Beginners:
Hi, I'm Christopher Bevans, the creator of SocksWiki.com. With a background in fashion design and a passion for innovation, I’m here to share my knowledge on socks from troubleshooting tips to detailed buying guides. I believe the right pair of socks can make all the difference, and through this site, I aim to help you find the perfect fit for every occasion.
- Latest Posts by Christopher Bevans
-
Is It Better to Sleep With Socks on Or off?
- -
How to Get Rid of a Sock Tan Line Naturally & Quickly
- -
What Socks to Wear With Grey Suit and Brown Shoes
- All Posts